
Installing curtains without drilling sounds simple but has a few steps that make the difference between curtains that look professional and curtains that fall at 3am. Here's the complete guide.
What You Need
- Curtain rod (sized to window width + 12-16" on each side for stackback)
- No-drill brackets (tension rod, adhesive, or pin-based)
- Level (even a small one makes a big difference)
- Measuring tape
- Pencil for marking
- Rubbing alcohol (for adhesive brackets)
- Curtains with rings or rod pocket
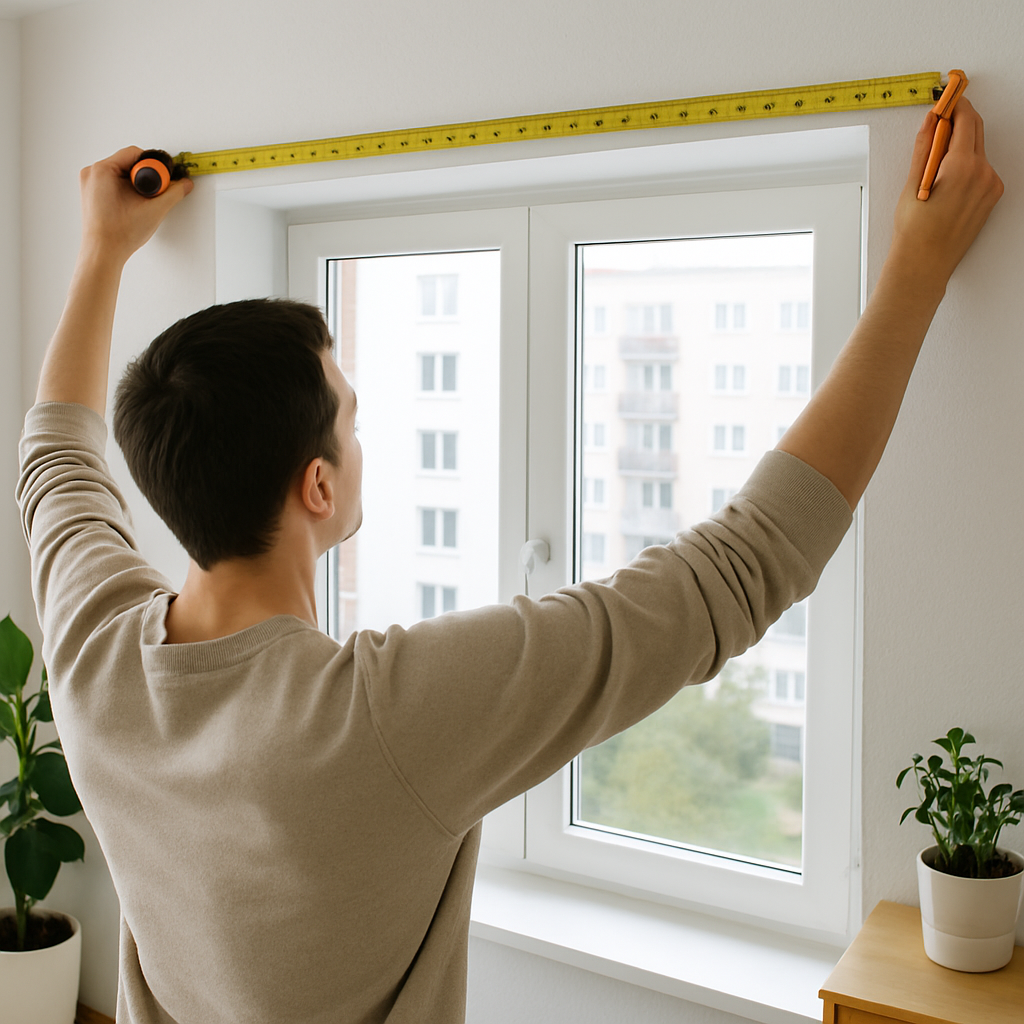
Step 1: Measure and Mark
Measure your window width. Add 6-12" per side for rod overhang. Mark bracket positions at the same height on both sides — this is where the level matters. Even 1/4" height difference is visible once curtains are hanging.
Standard height: 4-8" above the window frame, or as high as 3-4" below the ceiling for a dramatic look that makes ceilings seem taller.
Step 2: Install Brackets
Adhesive brackets: Wipe wall with rubbing alcohol, let dry 5 minutes, peel backing, press firmly for 30-60 seconds. Wait 24-72 hours before loading weight.
Pin-based brackets (Evermount): Hold bracket against wall at marked position, press alignment pins into wall. Uses included level bubble for instant leveling.
Tension rod: Compress rod, place inside window opening, release. Adjust until firmly seated.
Step 3: Thread Curtains and Hang
Thread rod through curtain rod pocket or clip rings onto rod before placing rod in brackets. Distribute curtain fullness evenly — aim for 1.5x-2x fabric per window width for good gather.
Step 4: Check and Adjust
Stand back and check for level. Adjust one bracket height if needed (pin-based and adhesive brackets can be repositioned — adhesive takes longer to reset). Check that curtains touch or barely skim the floor.
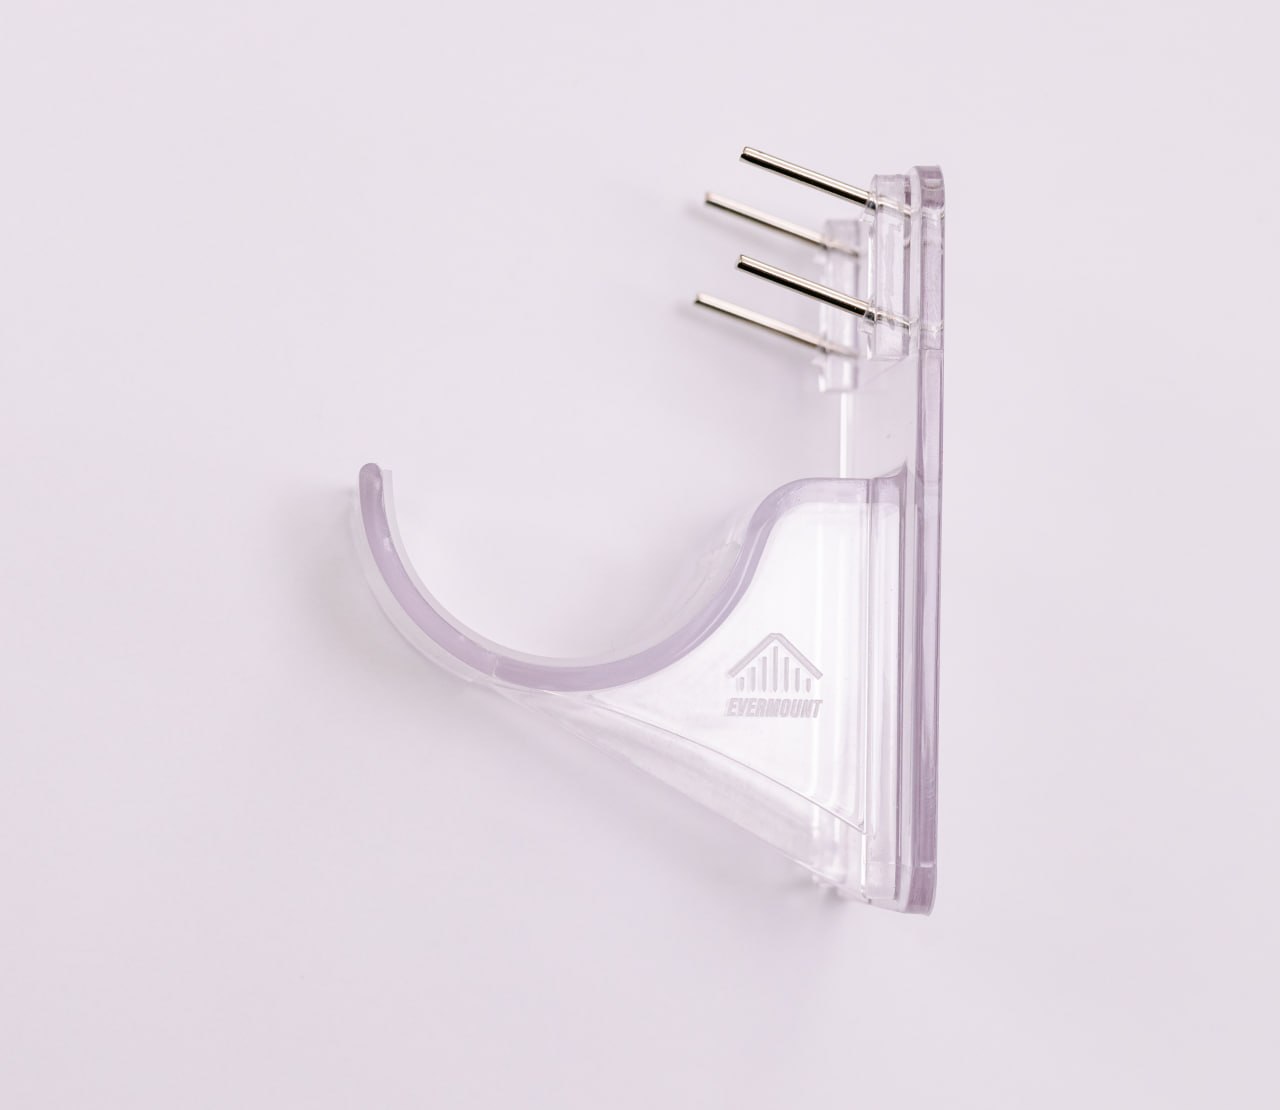
Evermount No-Drill Curtain Rod Holders
5X stronger than adhesive brackets. Uses pin alignment — no residue, no peeling, works on textured walls. Includes level tool. The no-drill solution that actually holds.
Check Price on Amazon →